Import images into the Library
The Library is where every runnable image lives - Docker containers, QEMU VM disks, LXC images, Dynamips and IOL. Nodes in your labs are launched from images here, so importing is usually the first thing you do after installing.
There are three main ways in: pull from a registry (Docker), upload a file from your machine (VM disks, tarballs), or import from a URL.
Open Library from the left navigation. The tabs split the library by runtime - All, Docker, QEMU (VM), Namespace, LXC and the router runtimes. Each entry shows its virtualisation badge and whether it is ready to run.
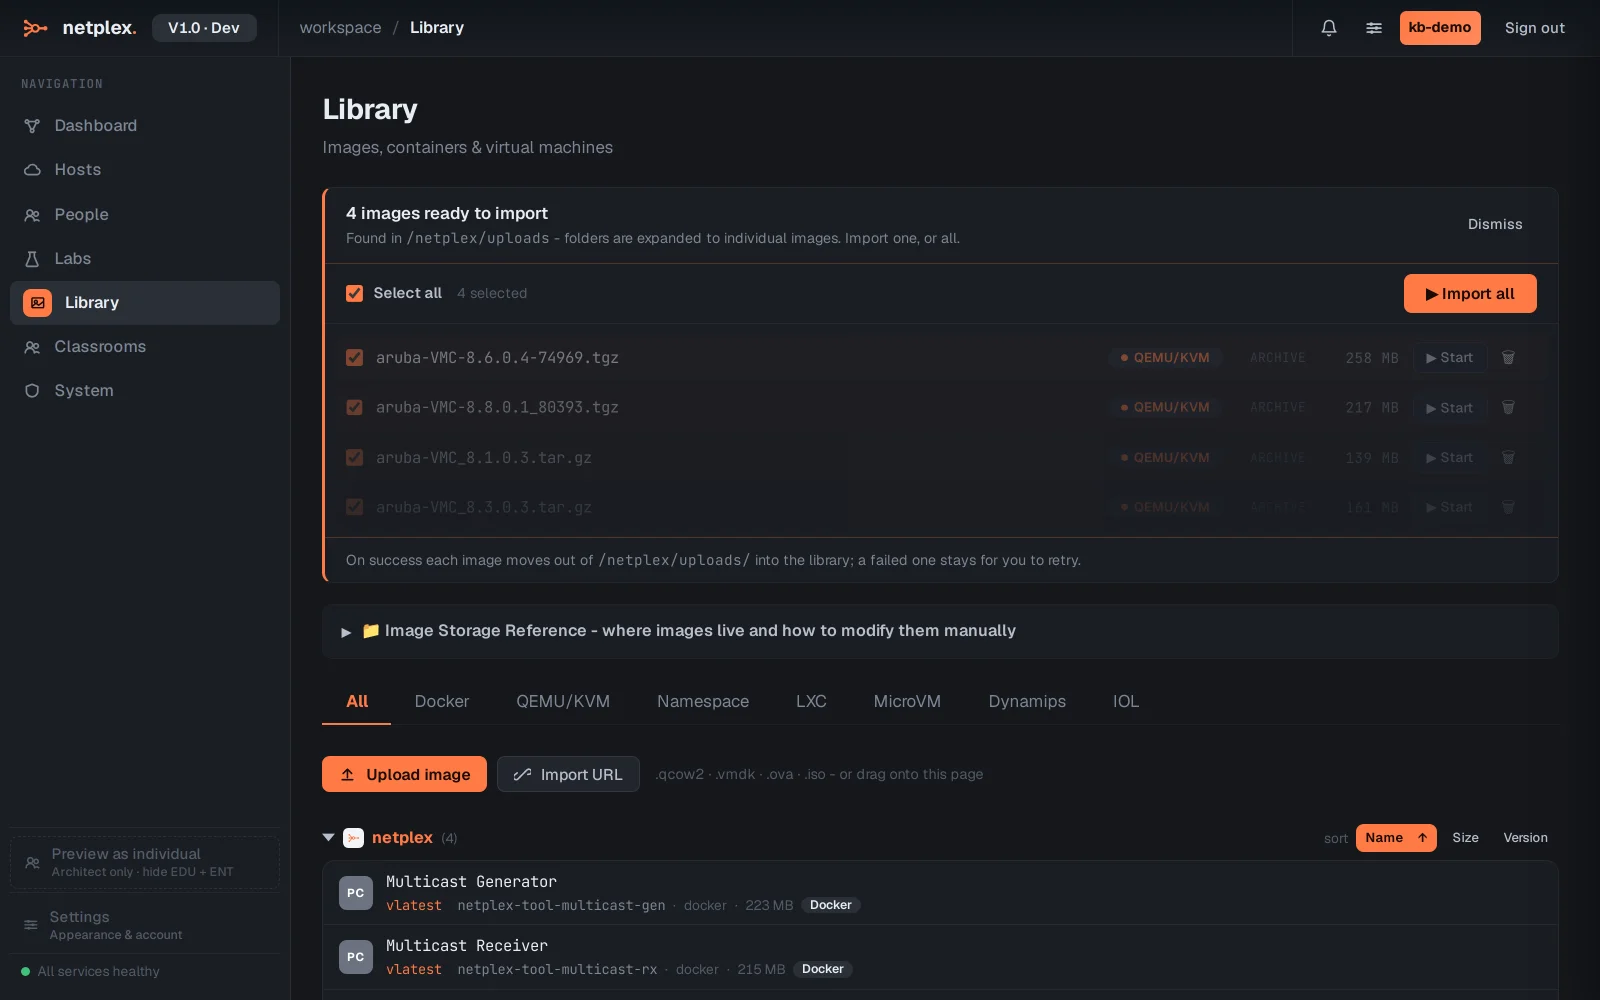
On the Docker tab, type an image name to pull it from a registry - suggestions appear as you type, and anything already downloaded is marked. This is the fastest way to add Linux hosts and containerised tools.
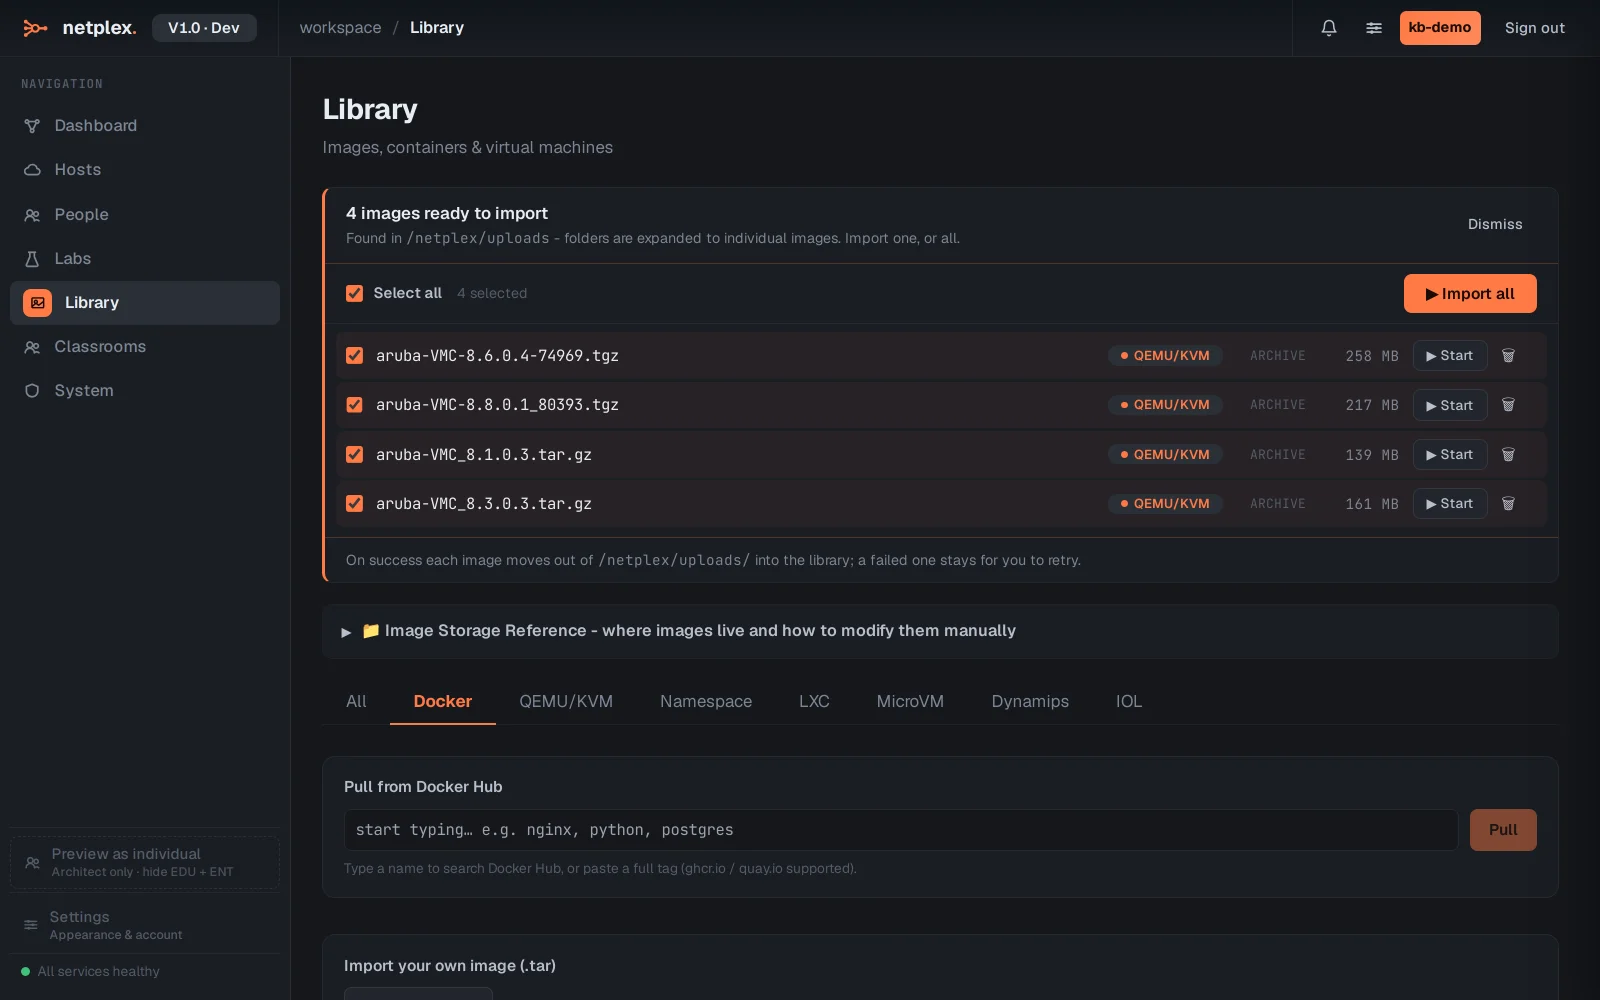
For VM images (.qcow2, .vmdk, .ova, .iso) switch to the QEMU tab: Upload image picks a file from your machine, and Import from URL fetches one directly onto the server - useful for big vendor images you keep on a NAS.
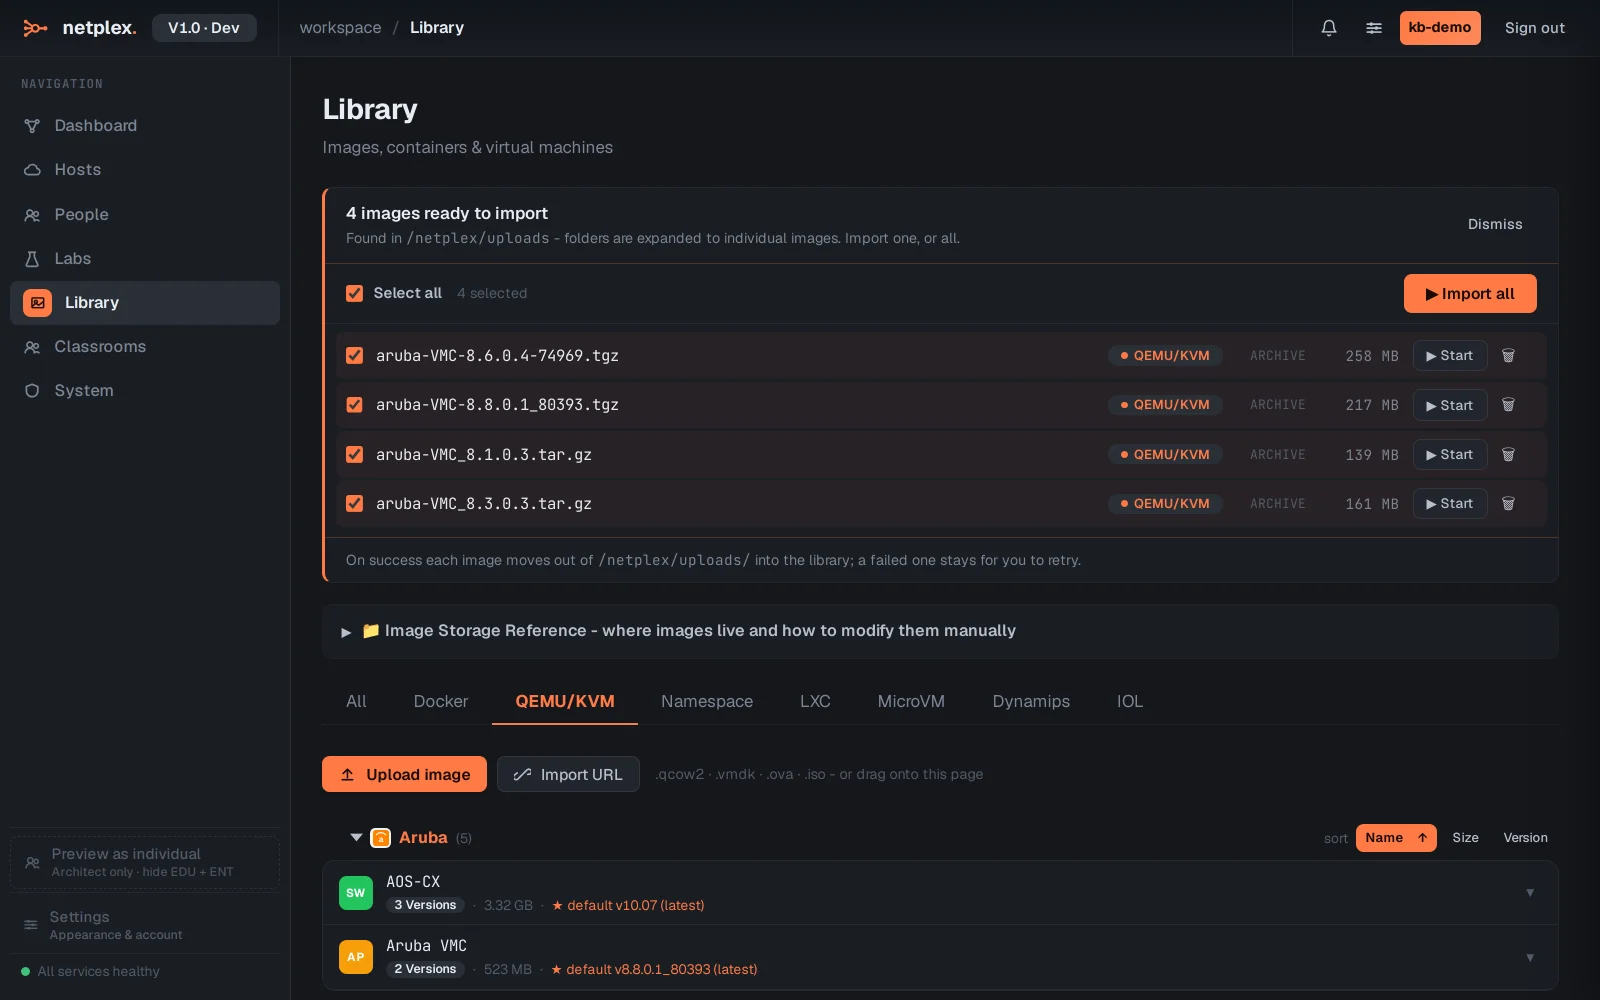
Imported images appear in the lab palette automatically, grouped by vendor, with hardware defaults from the vendor recommendation. Files dropped into the server's uploads folder are also detected - the Library prompts you to register them. Licensed vendor images (IOL, Dynamips) get their permissions applied by the import pipeline.