Set a node’s CPU, RAM and disk
Every device lands with vendor-recommended hardware, but you can change it. A router that needs more memory for a large table, a server sized for its workload - set the CPU, RAM and disk per node on the Hardware sub-tab. On a stopped node it saves and applies at next start; on a running node it restarts to take effect.
Select the node and open the Config tab, then its Hardware sub-tab. You get RAM, vCPU and disk controls, pre-filled with the current values.
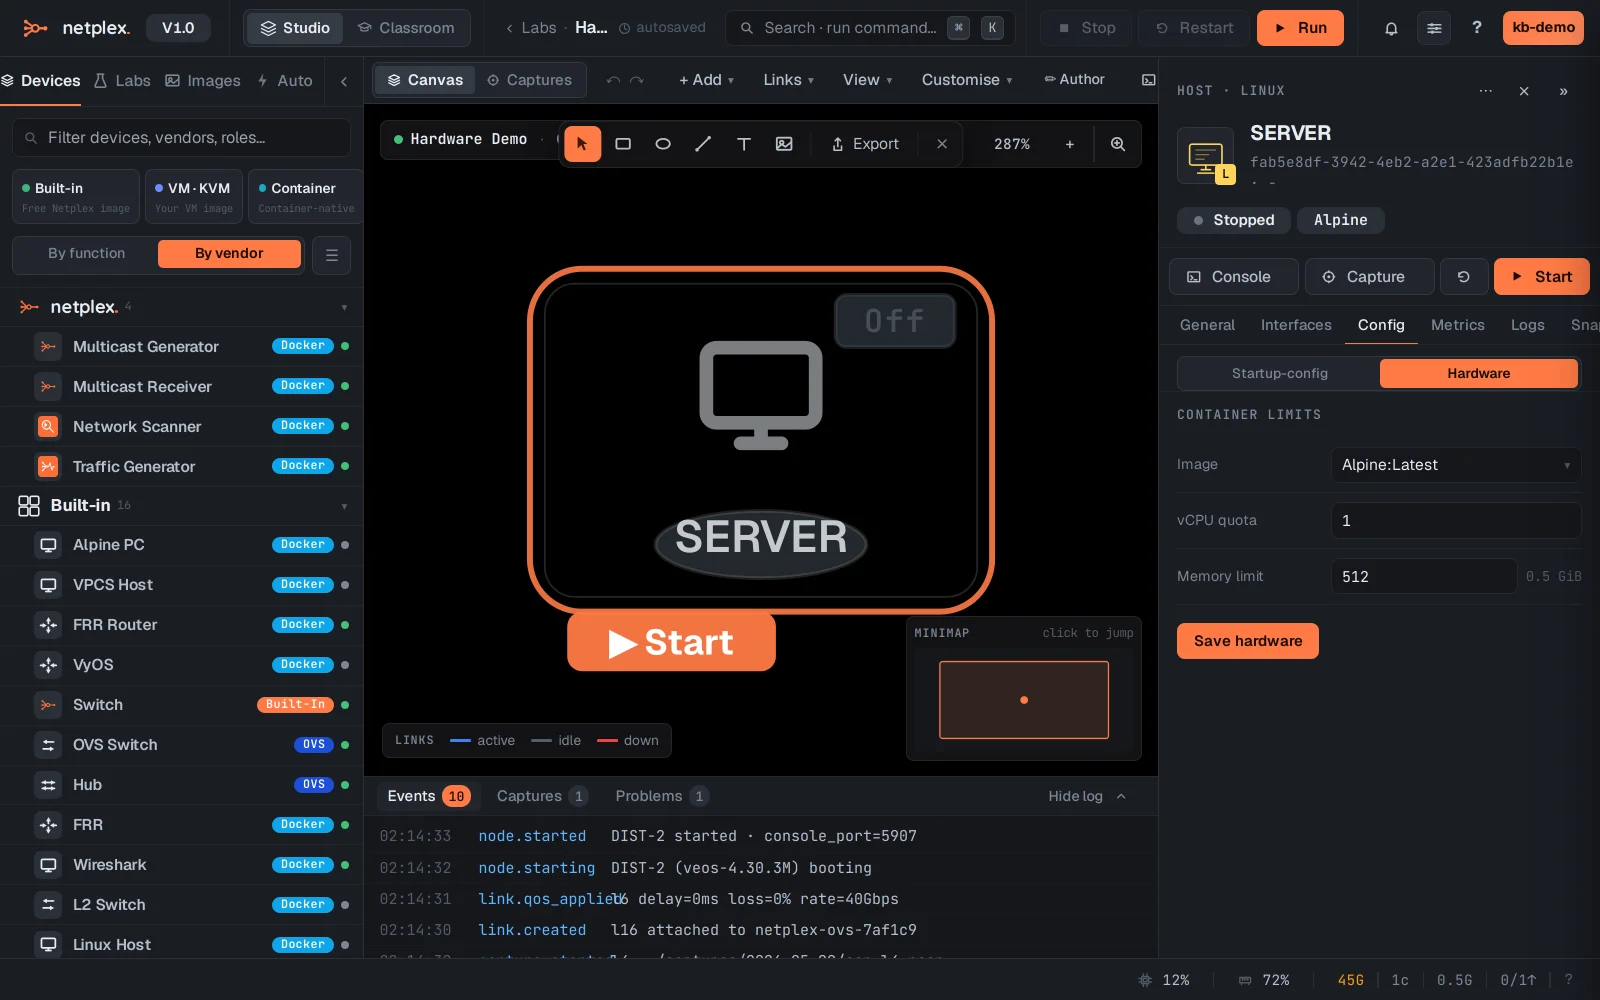
Set the vCPU quota and Memory limit (type a value), then click Save hardware. The new sizing is stored on the node and takes effect when it next starts.
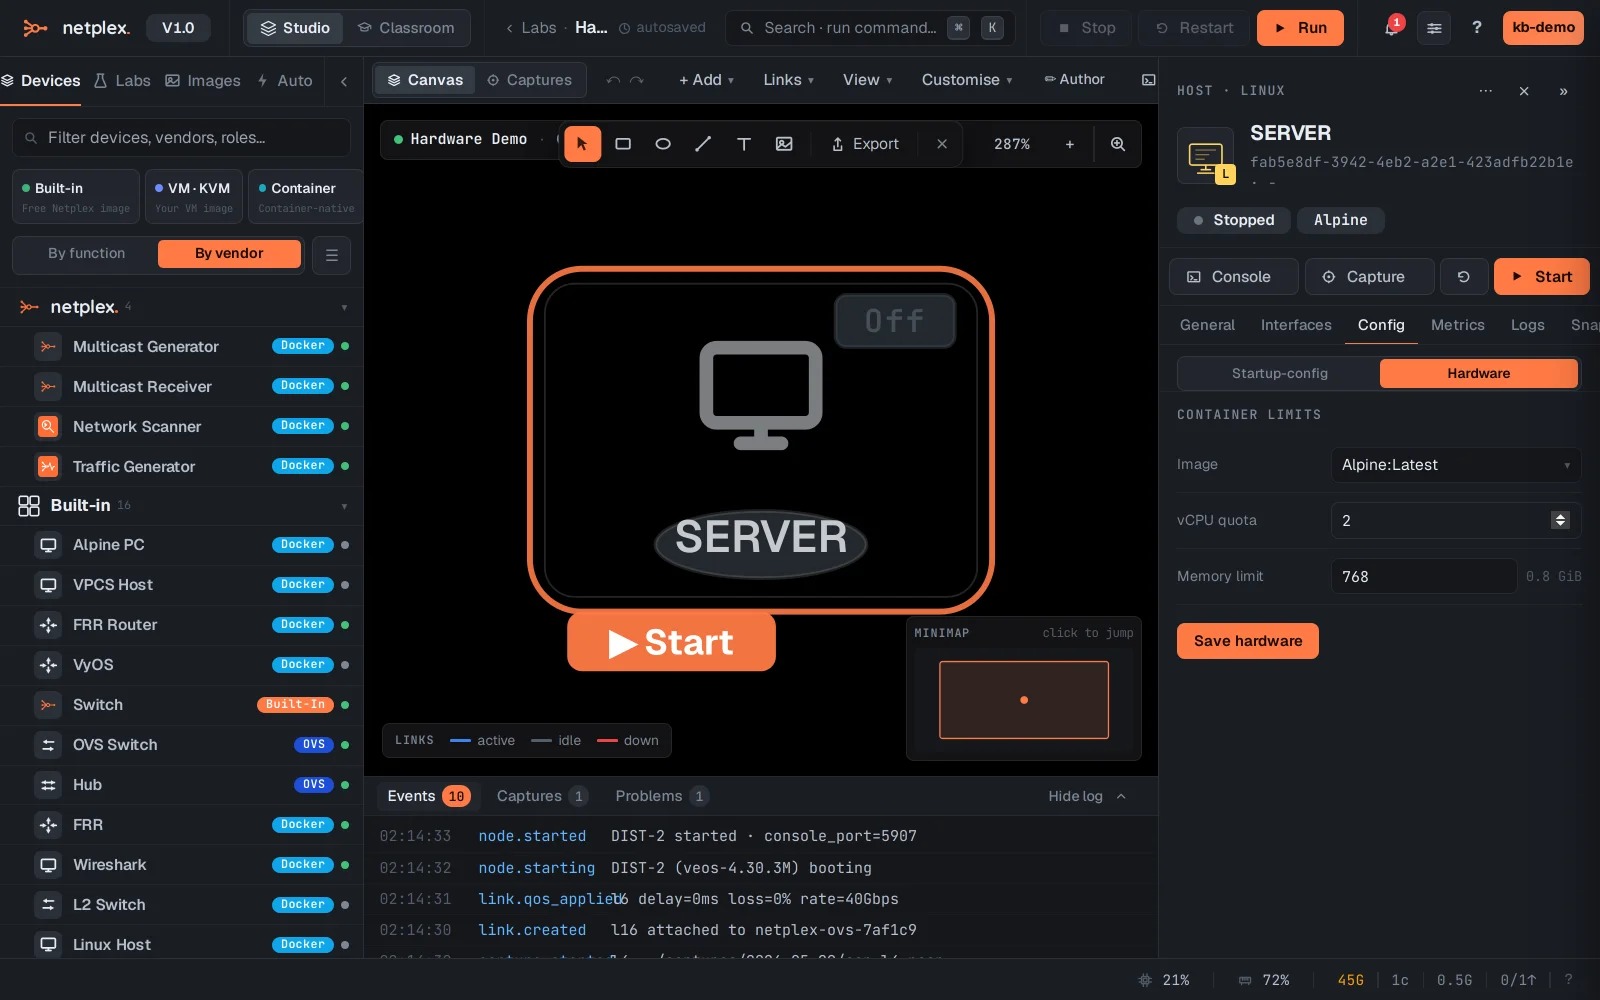
Hardware defaults come from each image's vendor recommendation, so most nodes are right out of the box - change them only when a device needs more (or you want to pack more small nodes onto the host). The Dashboard shows the host headroom you are working within.