Presentation Mode: laser pointer and live annotations
Teaching or screen-sharing a lab? Presentation Mode overlays a laser pointer, pen, highlighter, arrows, shapes and a spotlight on top of the canvas - purely visual, drawn live for whoever is watching. Nothing here touches the topology itself; it's the same idea as a whiteboard pen over a video call, scoped to your lab.
Click the Presentation mode icon in the canvas toolbar (top-right, next to Fullscreen). A floating tool palette appears at the bottom - Mouse, Laser, Pen, Highlight, Arrow, Box, Oval, Spotlight, Eraser - and stays on top of everything.
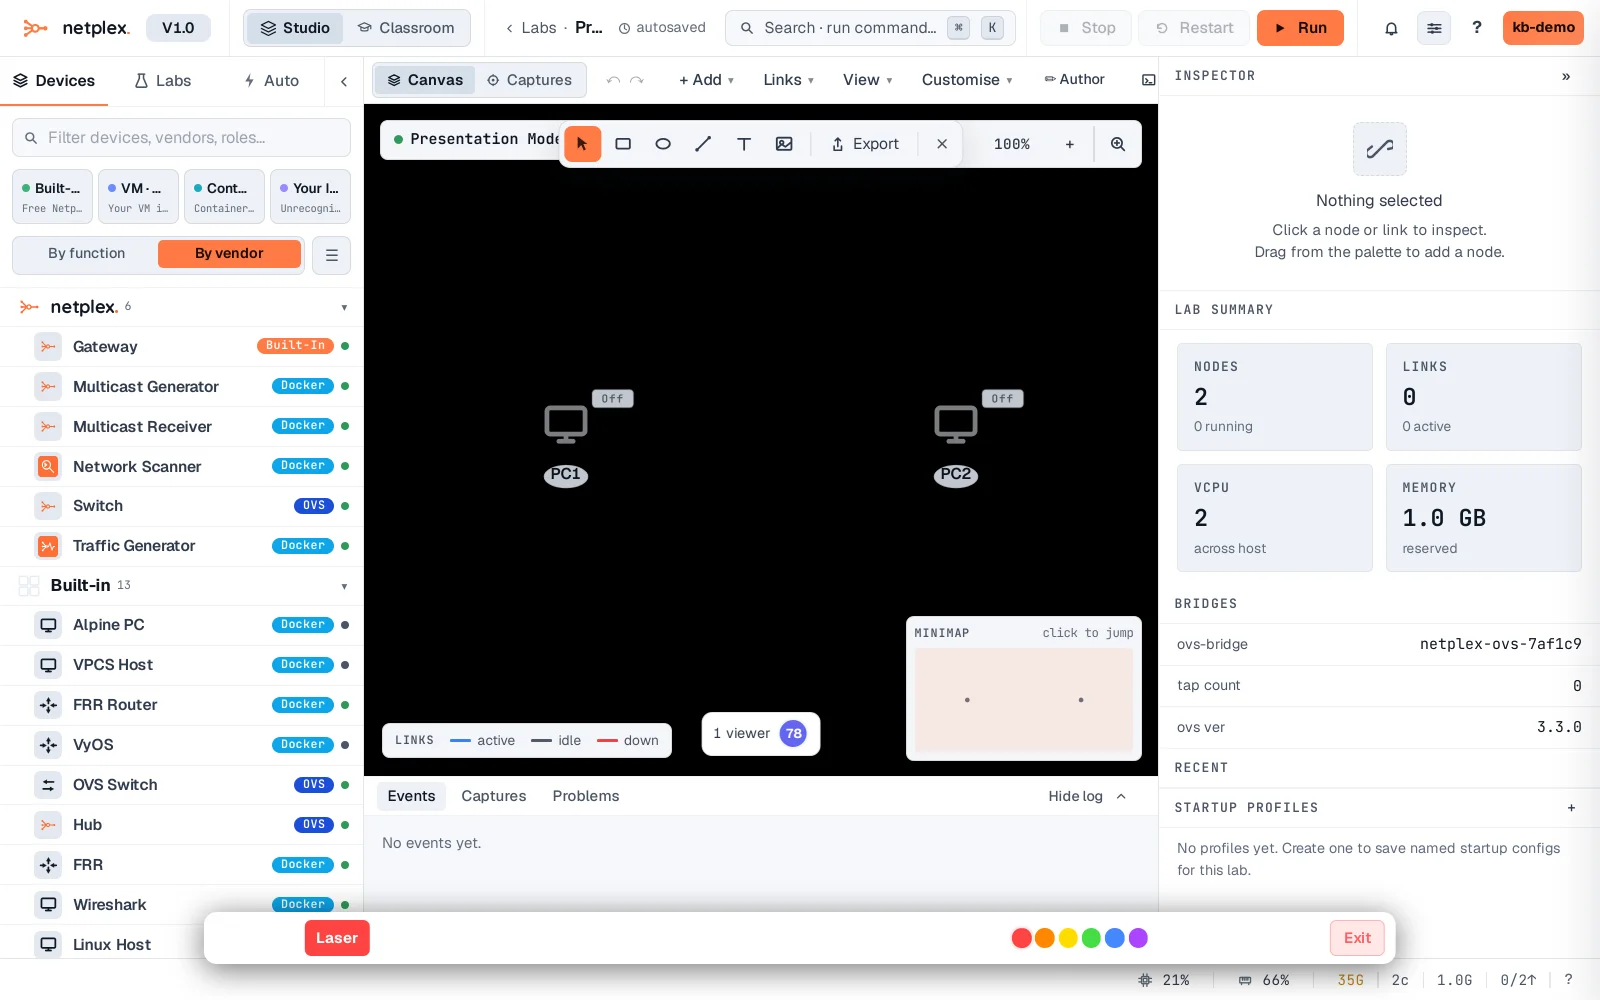
Pick Box and drag over anything worth calling out - here, both PCs. The shape draws in your chosen colour and stays on screen until you clear it or exit; it never saves to the lab, so nobody reopening this topology later sees your markup.
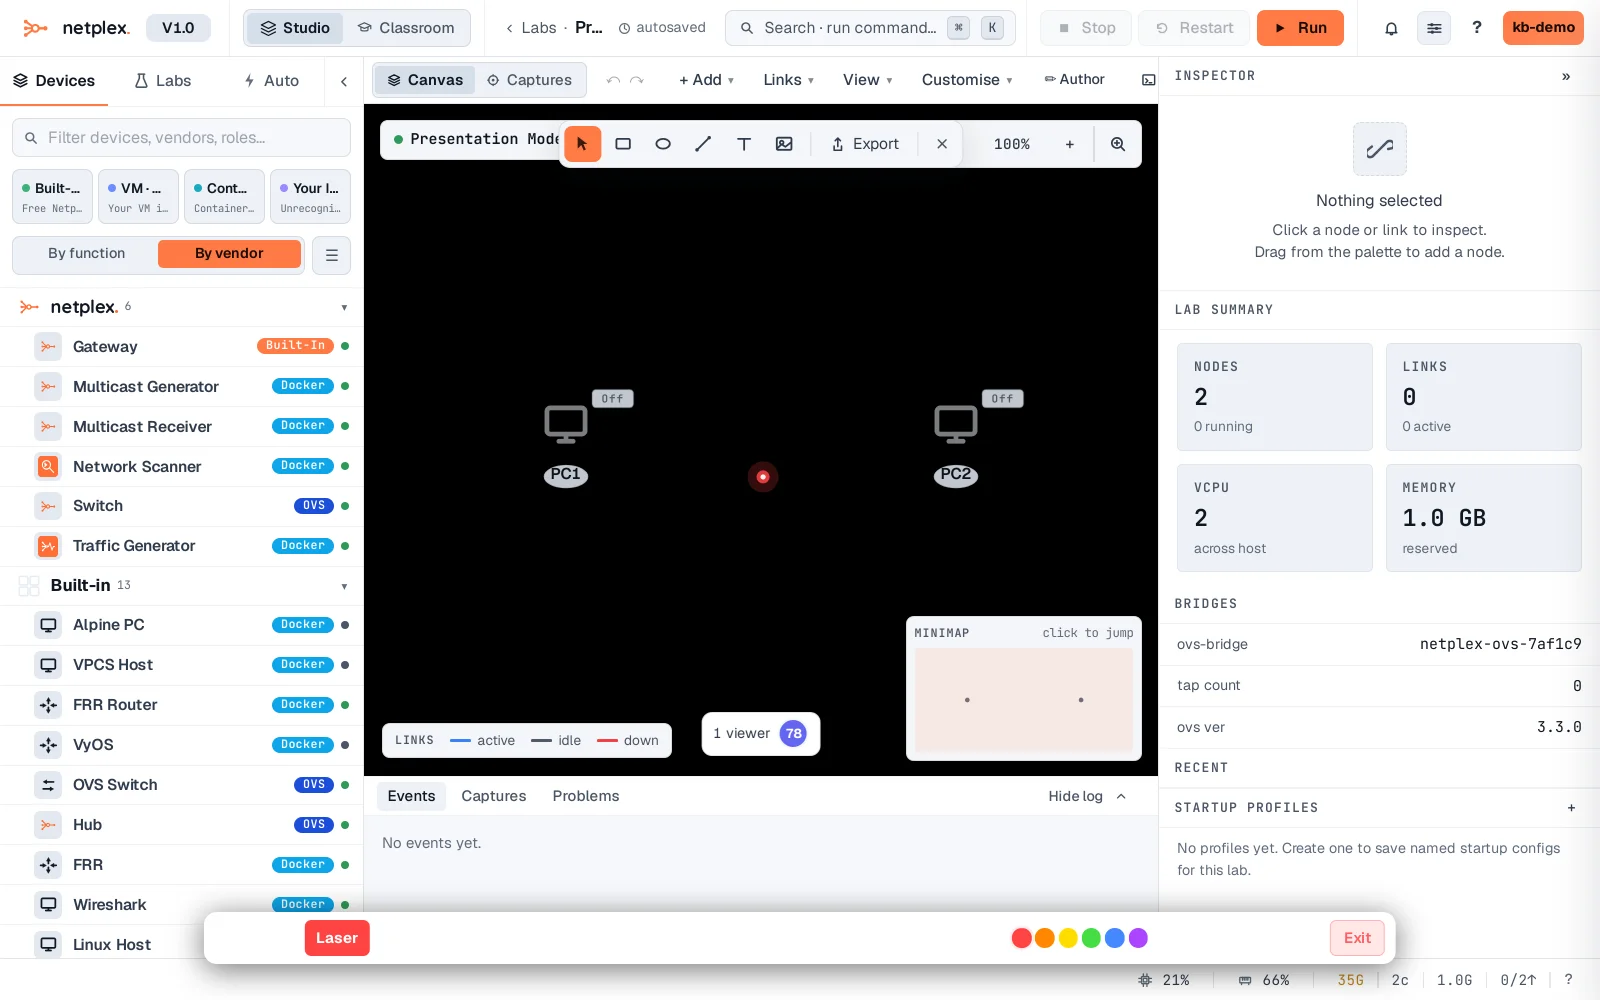
Switch tools any time with the palette or number keys (1 = Laser … 8 = Eraser), pick a colour from the swatches, Clear wipes every mark, and Exit (or Esc) drops straight back to the normal canvas - unchanged underneath.
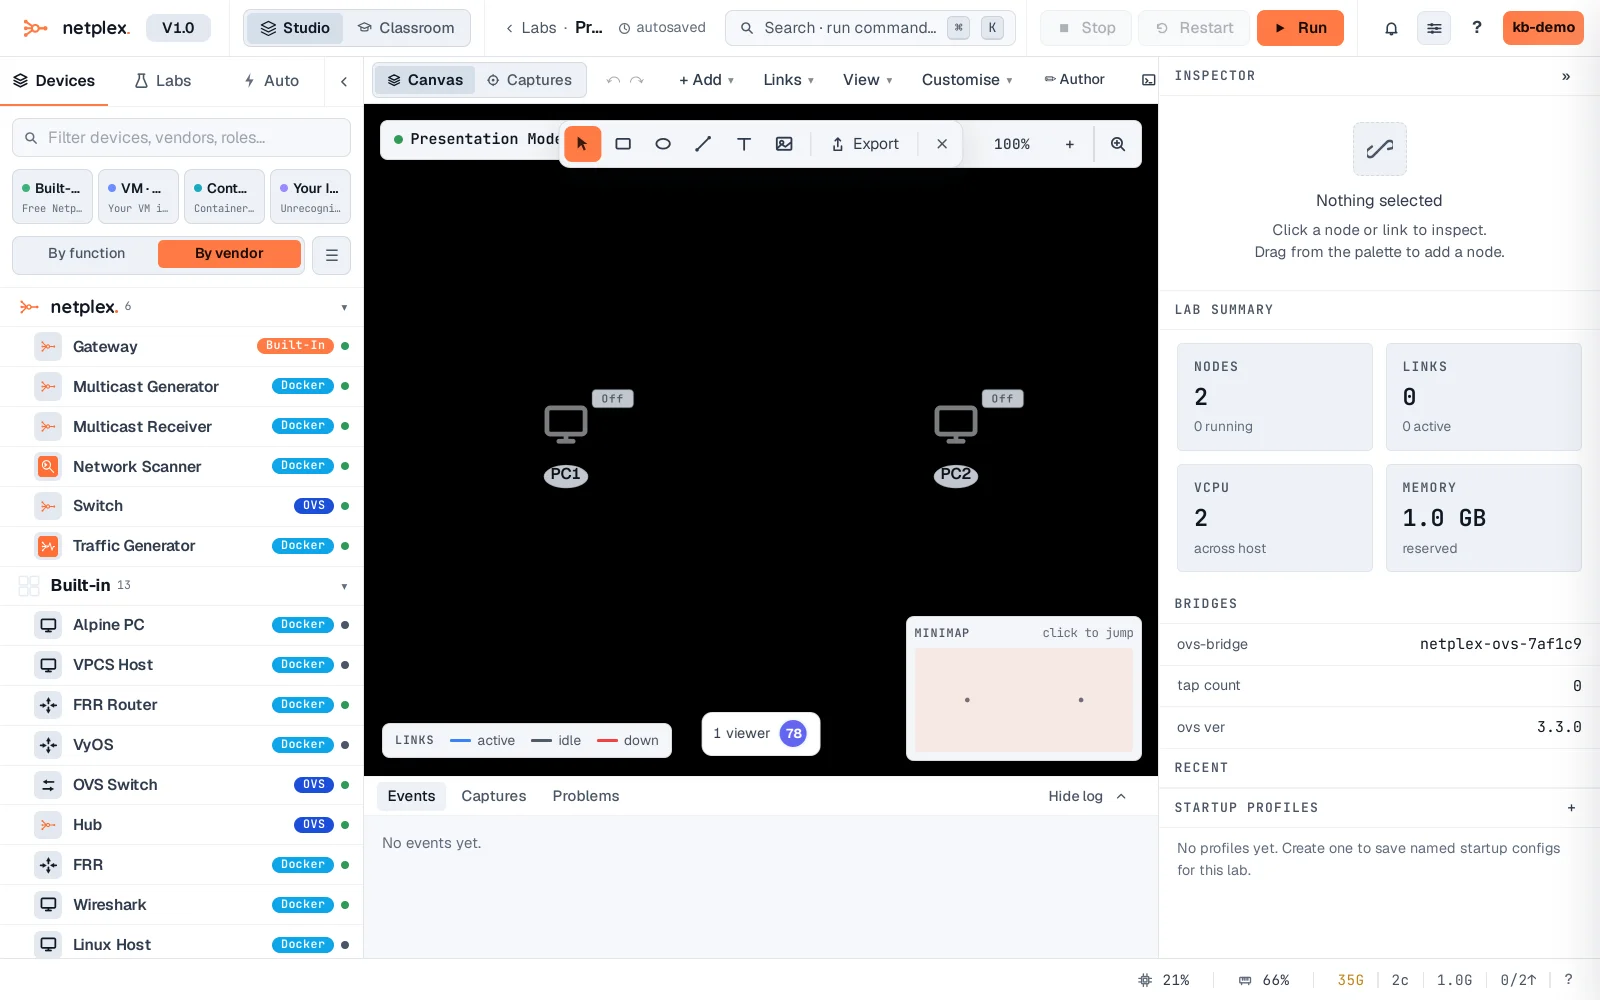
Presentation Mode is Pro and above. It also requests real browser fullscreen when it opens (falls back silently if the browser denies it), so the overlay covers the whole screen, not just the canvas panel.